ABOUT US
MISSION STATEMENT
North San Diego Young People in Alcoholics Anonymous (NSDYPAA) is an AA group that has one primary purpose: To carry its message to the alcoholic who still suffers. Being aware that not all young people (or young at heart) will find our events and meetings necessary or spiritual, we do not claim to speak for, or be a governing body for all young alcoholics in the North San Diego Area.
When anyone, anywhere, reaches out for help, we want the hand of AA always to be there, and for that; we (NSDYPAA) are responsible. We do this by attempting to unify young people in the North San Diego area, and by practicing the principles of AA (Twelve Steps, Twelve Traditions, and Twelve Concepts) through meetings, events, outreach and any other form of service.
When anyone, anywhere, reaches out for help, we want the hand of AA always to be there, and for that; we (NSDYPAA) are responsible. We do this by attempting to unify young people in the North San Diego area, and by practicing the principles of AA (Twelve Steps, Twelve Traditions, and Twelve Concepts) through meetings, events, outreach and any other form of service.
AREA WE COVER
While AA service can be found anywhere, and is needed everywhere, NSDYPAA aims to focus our events, meetings, outreach, and service work in the North San Diego Area. We define this as roughly north of the 56 freeway, all the way to the southern border of Orange and Riverside Counties, and from the beaches in the West all the way out to the border of Imperial County in the East. We encourage and support any other groups of young people within our area to form, and will help them define their own area.
AIMS AND PURPOSES
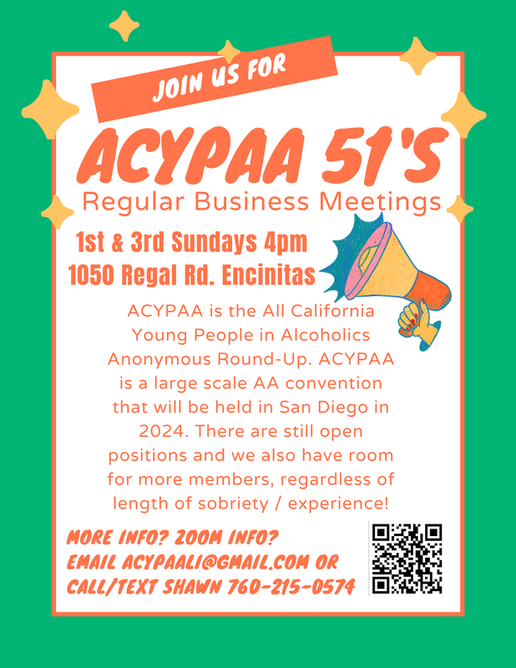
In addition to throwing events as often as possible, hosting weekly AA meetings, workshops, and other service work, NSDYPAA also was formed as a bid committee for the All California Young People in Alcoholics Anonymous (ACYPAA) conference, which occurs between February and May each year. This conference is an opportunity for young people to attend a large scale AA event that unifies and connects them with other young (or young at heart) alcoholics from California and all over the world. NSDYPAA last hosted the ACYPAA Roundup in 2010, and is currently an active bid committee for it.
JOIN THE COMMITTEE
Meetings 1st and 3rd Sunday @ 5:00 PM
Contact Shawn For Location Information
(760) 215-0574
nsdypaa@gmail.com
Contact Shawn For Location Information
(760) 215-0574
nsdypaa@gmail.com